How to Arrange Art on a Small Wall: Height, Spacing and Scale
The three measurements that decide where a picture goes: center height, the gap above furniture and the width of the arrangement, plus a paper-template method for testing first.
At a glance
- Difficulty
- Easy
- Time
- About 45 to 90 minutes, plus an overnight look at the templates
- Best for
- A wall above a sofa, bed, console or desk
- Renter note
- Needs wall fixings: choose them for your wall type and the weight of the piece, and ask before making holes
What you need
- Tape measure
- Pencil
- Small level
- Brown paper or newspaper
- Scissors
- Painter's tape
- Hanging hardware suited to your wall
You have the frames and you have the wall. What you need now is a position: how far up, how far apart and how wide the whole arrangement should be. Knowing how to arrange art is mostly a matter of three measurements, and none of them requires a trained eye.
On a small wall those measurements matter more than usual, because there is less empty space to hide a picture that sits too high or a pair that drifts apart. Work through the checks below with a tape measure and you will have pencil marks in the right place before any hardware comes out.
Start with the center, not the top
The most common habit is to line up the top of a frame with the top of a door or to hang art wherever an old hole happens to be. Both usually put the picture too high. Measure to the center of the artwork instead.
A common starting point is to place the center of the piece at about eye level for a standing adult, often given as roughly 57 to 60 in (145 to 152 cm) from the floor. That height keeps art connected to the people and furniture in the room instead of to the ceiling. Treat it as a first mark, then adjust: a little lower in a room where you mostly sit, a little higher in a hallway where everyone stands.
For a pair or a group, treat the whole arrangement as one shape and find the center of that shape.
Above furniture, measure the gap
The eye-level guide gives way as soon as art hangs over a sofa, bed, console or desk. There, the art and the furniture need to read as one composition, and what joins them is the space between.
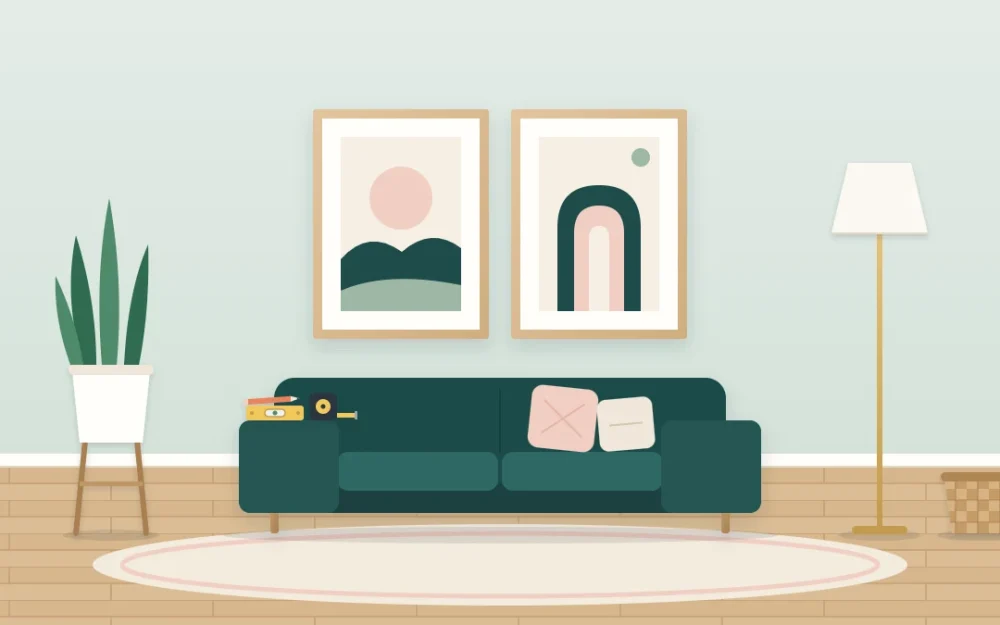
Aim for a gap of roughly 6 to 10 in (15 to 25 cm) between the top of the furniture and the bottom of the frame, about a hand-width or a little more. Any closer and heads bump the frame on a sofa; much farther and the picture seems to float away from the thing it belongs with.
With a low sofa and a small picture, this rule will place the center below eye level. That is fine. Connection to the furniture matters more than the number.
Size the art to what sits below
Width is the measurement people skip, and it is the reason a nicely hung picture can still look wrong. As a loose guide, the art, or the group of art, should span about two-thirds of the width of the furniture beneath it. Much narrower and it looks stranded; wider than the furniture and it looks top-heavy.
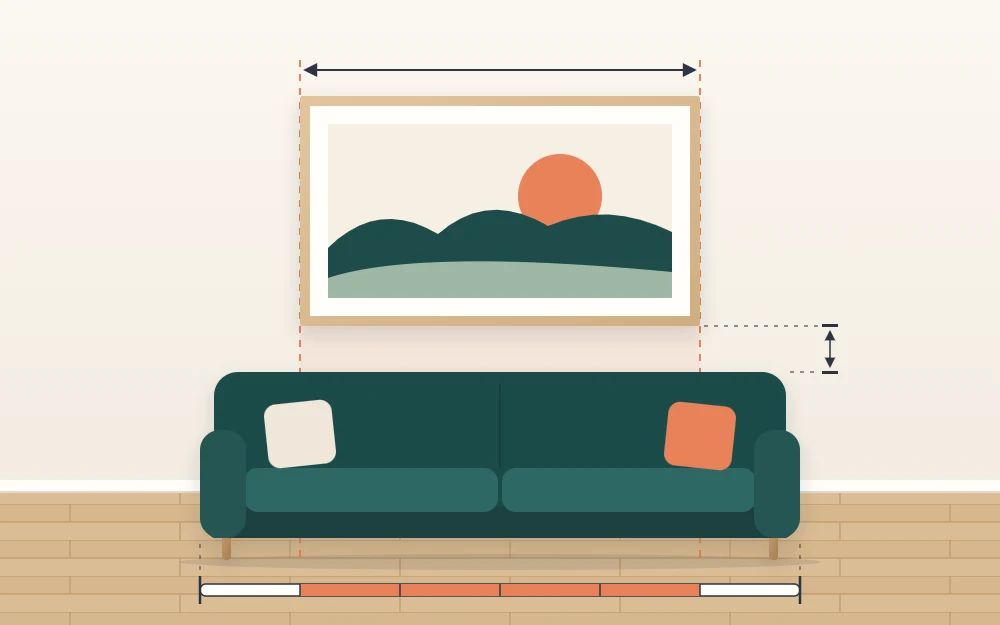
If the piece you own is too small, there are three easy corrections: reframe it with a wider mat, add a second piece beside it so the pair reaches the right width, or move it to a narrower wall where it fits. A wall with no furniture follows the same logic, with the art filling roughly the middle two-thirds of the wall.
When the art is meant to be the main feature of the room, lean toward the larger end; the guide to creating a focal point explains how to support it with quieter surroundings.
Keep the gaps between pieces equal
For a pair, a trio or a grid, consistent spacing is what makes separate frames read as one arrangement. A gap of roughly 2 to 3 in (5 to 8 cm) is a common starting point for small and medium frames. Larger frames can take slightly more.
- Pair: same size, tops level, one gap. Center the gap over the middle of the furniture.
- Trio in a row: center the middle frame first, then place the outer two at the same distance.
- Stacked two: one above the other on a narrow wall, with the gap centered at about eye level.
- Mixed sizes: line up either the centers or the bottom edges, and keep every gap the same.
If you would like other formats than rows of frames, there are more options in these wall decor ideas for blank walls.
Test with paper templates
Paper costs nothing to move, so make every decision in paper first.
- Trace each frame onto brown paper or newspaper and cut the shapes out.
- On the back of each frame, measure from the top edge down to the point where the wire or hanger will catch the hook when pulled taut. Mark that point on the template.
- Tape the templates to the wall with painter’s tape, using the height, gap and width guides above.
- Step back to the doorway, then sit where you normally sit. Adjust until it looks right from both.
- Check each template with a level, then press a pencil through the hanger mark to mark the wall.
- Take the paper down and fix your hardware at the pencil marks.
Tip
Leave the templates up overnight. An arrangement that still looks right the next morning, in different light, is ready for hardware.
Painter’s tape is made to be gentle, but paint finishes and surfaces vary, so test a small piece in a hidden spot first and follow the manufacturer’s instructions.
Choose hardware for your wall
There is no single right hook, because the answer depends on three things you have to check yourself.
Before you hang anything
Choose hardware for your wall type and for the weight of the framed piece, and follow the manufacturer’s instructions for both the hardware and the frame. If a piece is heavy or you are unsure what the wall is made of, get help. In a rental, check your lease or ask before making changes.
Two hangers per frame, where the frame allows it, keep a picture level over time. If you would prefer to avoid a row of holes altogether, a single shallow shelf lets you lean and overlap frames; see the guide to picture ledge styling.
If it still looks off
| What you notice | Likely cause | Fix |
|---|---|---|
| You look up to see it | Hung by its top edge | Lower it until the center is near eye level |
| It floats above the sofa | Gap too large | Bring it down toward a hand-width gap |
| It looks lost | Too narrow for the furniture | Add a companion piece or a wider mat |
| A pair looks like two strangers | Gap too wide or uneven | Close the gap and level the tops |
Frequently asked questions
How high should art hang on a wall?
A common starting point is to put the center of the piece at about eye level, often given as roughly 57 to 60 inches from the floor. Above a sofa or console the gap takes priority, so keep the bottom of the frame about a hand-width above the furniture even if the center ends up lower.
How far apart should two pictures be?
Roughly 2 to 3 inches is a comfortable gap for small and medium frames, with a little more for large ones. The exact number matters less than keeping it identical between every frame in the group, because even spacing is what makes separate pieces look like one arrangement.
What size art works above a sofa?
As a loose guide, the artwork or group should span about two-thirds of the sofa width. A piece much narrower than that tends to look stranded. If yours is too small, widen it with a larger mat and frame or hang a second piece beside it.