Picture Ledge Styling: A Flexible Art Display for Small Apartments
How to choose, place and layer a picture ledge so a mix of frames looks collected and calm, with three arrangements to copy and a leaning option that needs no mounting.
At a glance
- Difficulty
- Easy
- Time
- About 30 to 45 minutes to style, longer if you are mounting the ledge
- Best for
- The wall above a desk, sofa or console
- Renter note
- Needs wall fixings: choose them for your wall type and ask before drilling, or lean frames on a console instead
What you need
- Picture ledge
- Three to five frames in two or three sizes
- One small vase or plant
- Tape measure
- Pencil
- Level
A gallery wall asks for a lot of commitment: a dozen holes, exact spacing and an arrangement you are stuck with. A picture ledge gives you the same collected look with one fixed line and everything else free to move. Frames lean, overlap and swap places in seconds.
Good picture ledge styling follows a few simple habits, covered here in the order you will use them: choosing the ledge, placing it, layering the frames and keeping the display fresh. If you would prefer not to fix anything to the wall, the last section gives a no-mount version.
Why a ledge suits a small room
A ledge is shallow, usually just deep enough for two overlapping frames, so it adds interest without reaching into the room the way a shelf does. That matters above a sofa, a desk or a bed, where a deeper shelf would crowd your head.
It also draws one clean horizontal line. However varied the frames are, their bottom edges all sit on that line, which keeps a mixed collection orderly. One ledge is enough for most walls. Two, stacked with generous space between, can fill a taller wall, but more than two starts to read as shelving.
Choose the length and position
Size the ledge to whatever sits beneath it. A common starting point is about two-thirds to the full width of the sofa, desk or console, centered over it. A ledge noticeably shorter than that looks like an afterthought, and one that overhangs the furniture looks unbalanced.
For height, think about the frames, not the ledge. The middle of your tallest frame should end up near eye level on an open wall, or the ledge should sit roughly 8 to 10 in (20 to 25 cm) above the back of a sofa so nobody leans into it. The reasoning behind those numbers is laid out in the guide to height, spacing and scale for wall art.
Above a bed or sofa, choose a ledge with a raised front lip and keep heavy or glass-fronted pieces for walls where nobody sits or sleeps directly below.
Layer the frames
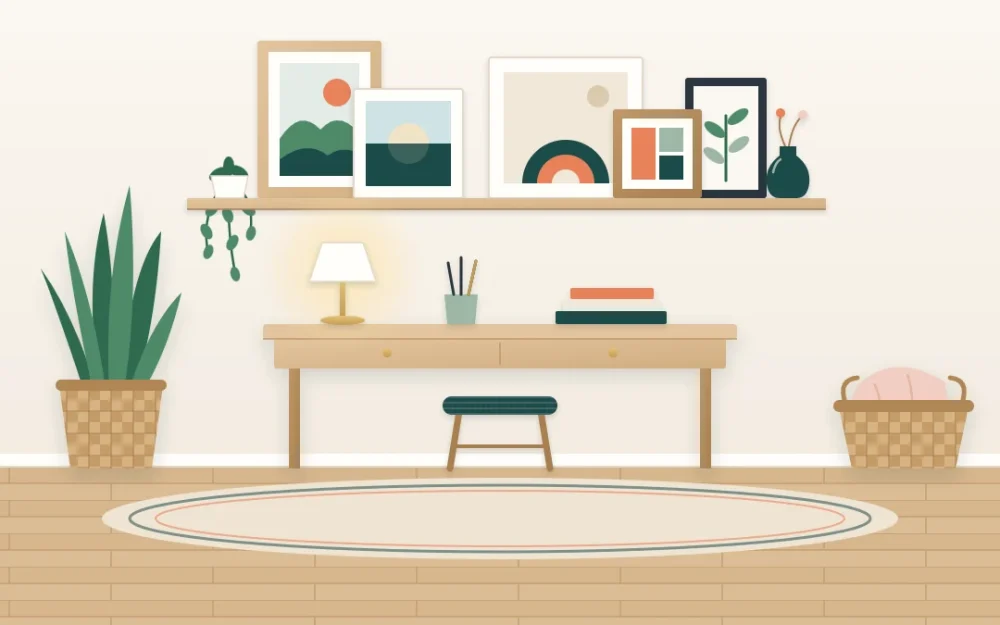
Lay everything out on the floor first, then build the display from back to front.
- Place the tallest frame first. Set it slightly off-center, leaning against the wall. It is the anchor everything else relates to.
- Add a medium frame overlapping one edge. Cover a corner or a strip of the mat, never the main subject of the picture behind.
- Bring in the smallest frame at the front. Let it overlap the medium one, so there are three clear depths.
- Balance the other end. Add one or two frames on the opposite side at a different height from the anchor.
- Finish with one object that is not a frame. A small vase, a trailing plant or a ceramic piece breaks up the rectangles.
Two or three frame sizes are enough. More than that and the display loses its rhythm; only one size and you lose the layering that makes a ledge worth having. Mixing portrait and landscape formats helps the tops form an uneven, relaxed skyline.
Tip
Odd numbers are easier to arrange. Three or five frames give you a natural middle and avoid the split-down-the-center look of an even set.
Three arrangements to copy
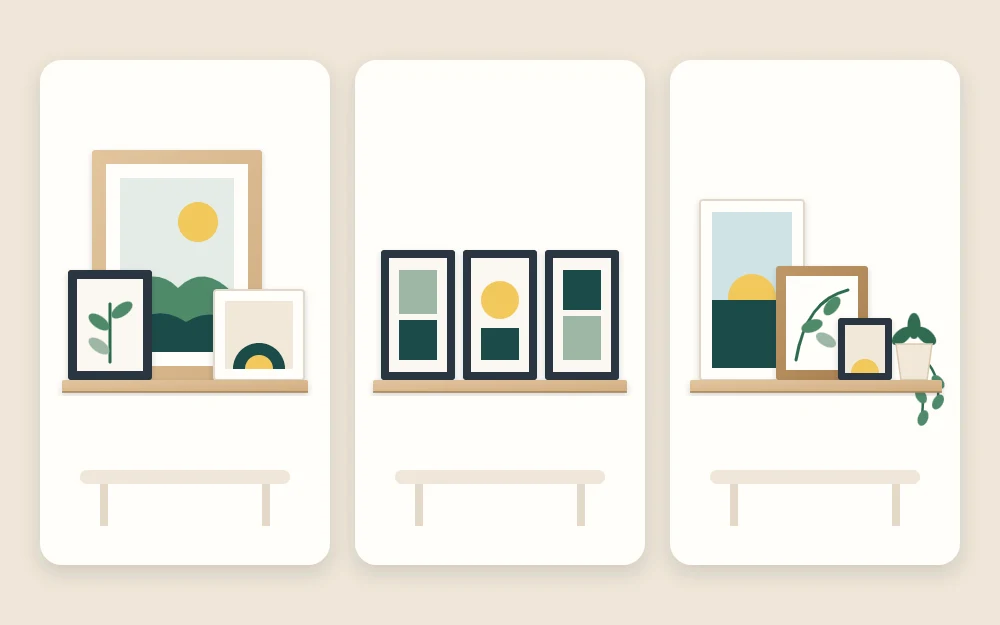
Anchor and companions
One large frame with two small ones overlapping its lower corners. It is the simplest layered look and the best choice for a short ledge above a desk.
The even row
Three frames of the same size standing side by side with equal gaps and no overlap. It is calm and formal, and it suits a room that already has plenty of pattern or a set of prints that belong together.
The relaxed mix
Five frames in two or three sizes, overlapped in loose clusters, with a small plant at one end. This is the collected look most people picture, and it needs a longer ledge to breathe.
Keep the color story tight
A ledge holds many items in a small area, so restraint in color is what stops it from looking busy. Pick one of these approaches and stay with it:
- Match the frames, vary the art. All black, all oak or all white frames let colorful prints sit together.
- Vary the frames, limit the art. Mixed wood and metal frames work when the art inside sticks to two or three colors, or to black and white.
- Borrow from the room. Repeat one accent from a cushion or rug in at least two of the prints.
Wide white mats are useful here. They give each picture its own margin, so overlapping frames do not turn into a jumble. The same ideas of repetition and empty space apply to deeper shelves, as covered in shelf styling for a small apartment.
Leave air at the ends
Stop the display short of both ends of the ledge. A stretch of bare ledge on each side, about the width of your smallest frame, makes the arrangement look placed instead of packed. If every bit of the ledge is covered, remove one piece.
Swap pieces through the year
The real advantage of a ledge is that nothing is permanent. Keep the anchor frame in place and change the two or three smaller ones: lighter, greener prints in spring, deeper tones in fall, a postcard from a recent trip. Store the spare prints flat behind the frame they will replace.
Mounting, or leaning without it
A ledge carries everything you put on it, so the fixing deserves care.
Before you hang anything
Follow the ledge manufacturer’s instructions, and choose fixings for your wall type and for the total weight the ledge will carry, frames included. Use a level. If you are unsure what the wall is made of, get help before fixing a ledge above a bed or sofa. In a rental, check your lease or ask before making changes.
If fixing a ledge is not possible, use the same layering on a surface you already have. A console, a dresser, a low bookcase or a deep windowsill becomes a ledge the moment you lean a large frame against the wall and overlap two smaller ones in front. A small dot of mounting putty under each frame can stop it sliding on a smooth top; finishes and surfaces vary, so test it somewhere hidden first and follow the maker’s directions. Leaning art is one of the most useful ideas in renter-friendly apartment decor, and it follows every rule above.
Frequently asked questions
How many frames should go on a picture ledge?
Three to five frames suits most single ledges, depending on length. Odd numbers are easier to balance, and two or three different sizes give enough variety to layer. Leave some bare ledge at both ends, and if the display feels crowded, take one piece away.
How long should a picture ledge be above a sofa?
A common starting point is somewhere between two-thirds and the full width of the sofa, centered over it. A much shorter ledge tends to look stranded on the wall, while one that extends past the sofa arms looks unbalanced. The same proportion works above a desk or console.
Can I get the picture ledge look without mounting anything?
Yes. Lean a large frame against the wall on a console, dresser or low bookcase, then overlap one or two smaller frames in front and add a small object. You get the same layered effect, and the pieces can be rearranged or moved to another room whenever you like.